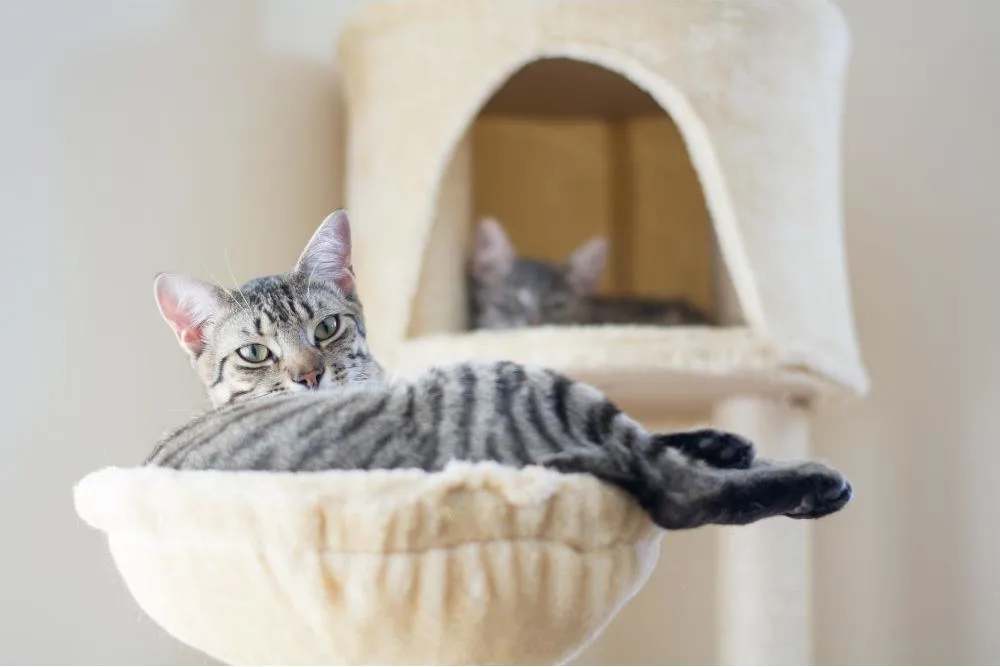
Cat condos, also known as cat trees or kitty condos, provide an ideal space for your feline friends to play, relax, and satisfy their natural instincts.

Constructing a DIY cat condo not only saves you money compared to store-bought alternatives, but it also allows you to customize the design to suit your cat’s preferences and your home’s décor. With some essential tools and materials readily available, creating a cat condo can be a fun and rewarding project for both you and your pet.
In this article, we will explore the steps to build a cat condo tailored to your cat’s needs. From selecting the appropriate materials to incorporating various features, we’ll guide you through the process of constructing a safe and enjoyable environment for your feline companion. Whether you’re a novice DIYer or a seasoned builder, this project can be adapted to your skill level, ensuring a successful outcome and a happy, entertained cat.

Materials and Tools
Essential Materials
To build a cat condo, you will need the following materials:
- Plywood: This will be used to create the base and platforms of the cat condo. You may also consider using MDF, which is a cheaper alternative.
- Carpet: A soft and durable carpet can be wrapped around the base, platforms, and scratching posts, making it perfect for your kitty to climb, play, and rest on.
- Sisal Rope: This is an essential material for creating scratching posts. Wrapping sisal rope around the posts will provide an excellent surface for your cat to sharpen their claws.
- PVC Pipe: Sturdy PVC pipes can be used for the vertical posts to support platforms and act as the frame of the cat condo.
- Brackets: L-brackets or corner brackets will secure the platforms to the PVC pipes.
- Screws: Wood screws will help attach brackets to plywood and PVC pipes.
- Non-toxic paint (optional): You can paint the plywood with a non-toxic paint to add a personalized touch to your cat condo.
Important Tools
The following tools will be necessary to construct your cat condo:
- Drill: A power drill will be necessary to create holes for screws and brackets.
- Circular Saw/Table Saw: These tools will help you cut plywood to the desired dimensions for your project.
- Sandpaper: Use sandpaper to smooth the edges of the plywood and PVC pipes after cutting.
- Utility Knife: A sharp utility knife will make it easier to cut carpet or sisal rope to size.
- Hammer: A solid hammer will be needed to fix nails in place and tap L-brackets securely.
- Staple Gun: A staple gun will be useful for attaching carpet to the plywood platforms, tubes, or scratching posts.
- Wood Glue: This adhesive will help secure sisal rope onto the posts or to reinforce joints.
- Paintbrush (if painting): A quality brush will ensure even application of your chosen non-toxic paint.
- Scissors: You’ll need a sharp pair of scissors for cutting sisal rope and carpet.
- Cardboard Tube/Cardboard Box (optional): Including these items can provide your cat with extra resting spots or hiding spaces.
With these materials and tools, you’ll be well-prepared to create a fantastic cat condo that will surely make your feline friend happy! Just remember to keep safety in mind by using non-toxic materials and rounding off any sharp edges.

Preparing the Base and Structure
Building the Base
To create a solid foundation for your cat condo, start by choosing a square or rectangular piece of plywood for the base. This will act as the floor of your cat condo, providing stability and support. Ensure the board is large enough so your cat can comfortably move around and play on it.
Next, cover the base with carpet to create a comfortable and scratch-resistant surface. You may use glue or a staple gun to secure the carpet in place. Make sure the carpet is level, and there are no bumps or wrinkles that may cause your cat discomfort or instability.
Constructing the Vertical Supports
For the vertical supports of your cat condo, you can use wooden posts or PVC pipes. The number of supports will depend on your cat condo design and the desired stability. Cut these materials to your desired height using a circular saw for wooden posts or a hack saw for PVC pipes ^5^.
Before assembling all the components, you may want to do a quick “dry run” by temporarily connecting the base and vertical supports with small nails or screws. This allows you to confirm that your design is visually pleasing and stable.
Adding Shelves and Platforms
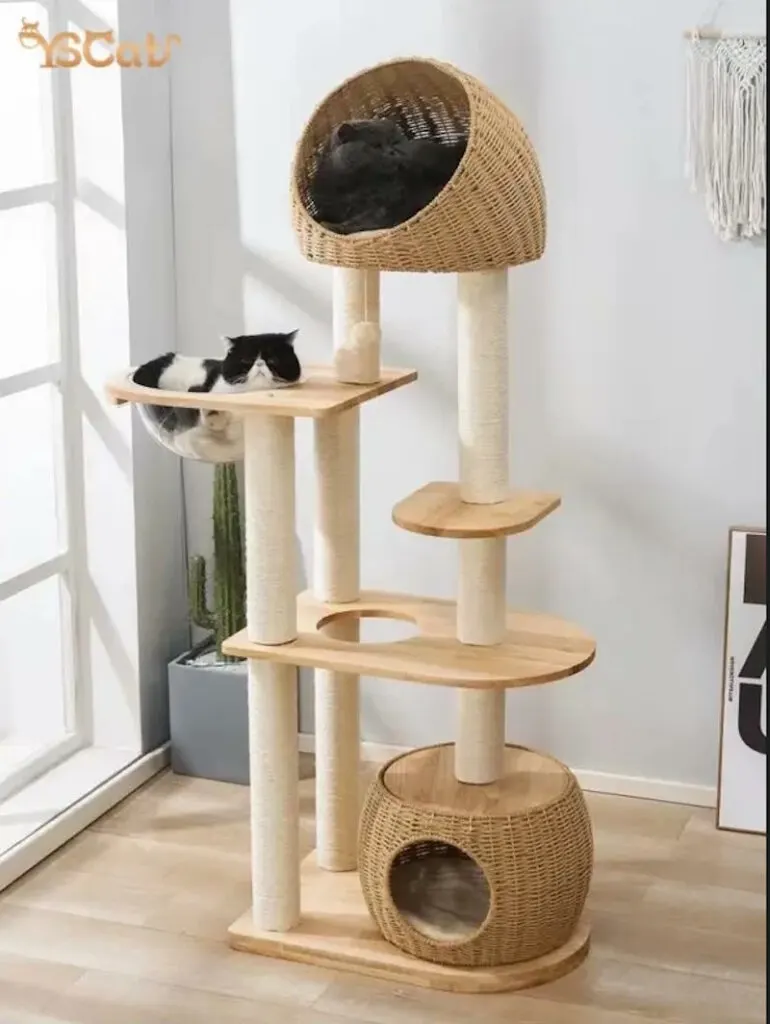
Now it’s time to add shelves and platforms to your cat condo structure. These can be made from scraps of plywood or wooden discs, which can be found at your local hardware store. When choosing the size of the shelves and platforms, make sure they are large enough for your cat to comfortably lay down on and move around.
To attach the shelves and platforms to the vertical supports, use brackets or mounting boards. This will create a secure connection between the components, ensuring your cat’s safety while they explore their new play space. Also be sure to space the shelves and platforms at varying heights so your cat can easily jump between them.
For added fun, consider placing some shelves near a window for your cat to enjoy a view from their new perch.
Following these steps will help you create a cat condo that is structurally sound, safe, and enjoyable for your furry friend. Remember to customize the design to suit your cat’s preferences and your available space, and most importantly, have fun with it!

Building the Cat Condo Features
In this section, we will discuss some essential features to include in your cat condo to provide an engaging and functional space for your feline friends.
Creating Scratching Posts
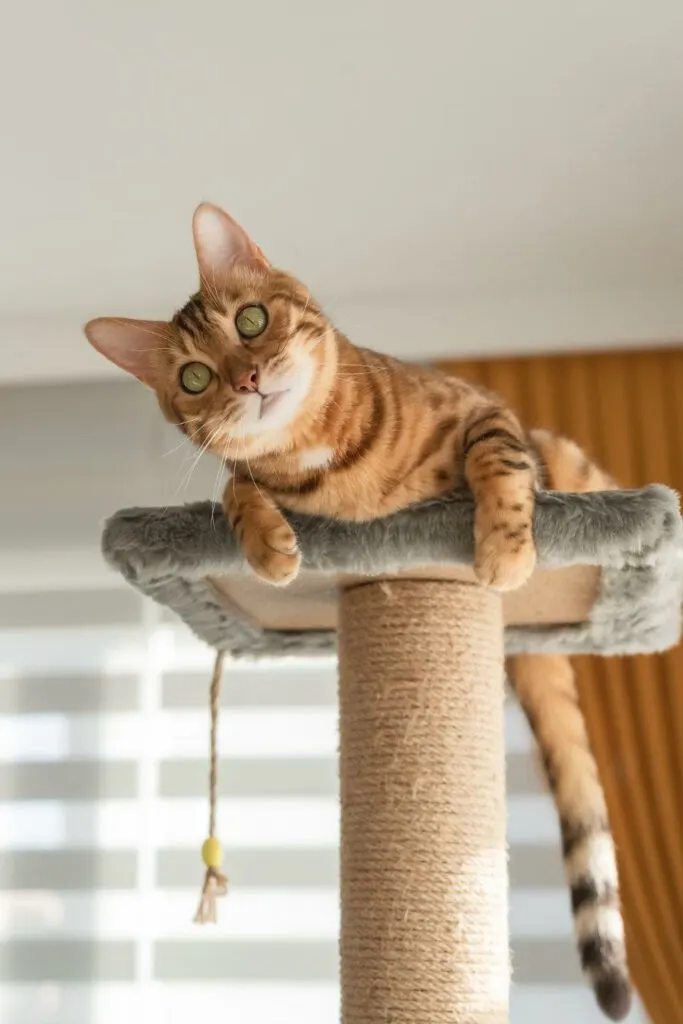
Scratching posts are a must-have element in any cat condo as they offer cats an outlet to sharpen their claws and mark their territory. To create a scratching post, wrap a sturdy wooden or PVC post tightly with sisal rope or use a combination of carpet and rope for variety. Incorporate scratching posts at various heights and angles throughout the cat tree to cater to your cat’s preferences.
Assembling Cat Houses
Adding cat houses or hiding spots to your cat furniture is essential for providing a sense of security and privacy for your furry friends. You can use cardboard boxes, wooden crates, or pre-built cat houses as the base for these hiding spots. Cut out entrances in various shapes such as circles, paw prints, squares, or triangles, and ensure they’re placed at different heights and accessed through cat steps or cat ladders. Enhance the appeal of these hiding spots by attaching cat toys or using real branches as platforms and support.
Adding Cat Hammocks
Cat hammocks are a comfortable addition to any kitty condo, offering a cozy spot for your cat to lounge or nap. Attach hammocks to your cat tower with sturdy brackets, ensuring that they are secure and spaced evenly. Place hammocks at varying heights within the cat condo for versatility and balance.
While assembling your cat condo, always prioritize your cat’s safety and comfort. Use soft materials and padding where necessary, and select a stable base for the cat tree to prevent any accidents. Keep in mind that every cat is unique, and their preferences might differ. Adjust the cat furniture to meet their individual needs and enjoy watching them explore and make use of their new playground.
Finishing Touches
Carpeting and Padding
When building a DIY cat condo, adding comfortable surfaces like carpeting and padding is crucial to your feline’s happiness. Begin by selecting a soft, durable carpet material that can withstand your cat’s claws. Cut the carpet pieces to fit the condo’s base, levels, and possibly even the sides. Use a strong adhesive, such as wood glue, to secure the carpet in place.
Padding is an excellent addition for extra comfort. Try using thick materials like towels or foam pads to create cozy sleeping areas. Cover padding with soft fabric, and secure it with glue or staples. Remember to keep your cat’s comfort and enjoyment in mind.
Adding Toys and Accessories
To ensure a fun and engaging environment, add various toys and accessories to the DIY cat condo. Some popular choices include:
- Hanging toys: Attach strings with feathers or small plush toys dangling from the upper levels for a playful feline attraction.
- Built-in cubbies or wicker baskets: These provide secluded spaces for cats to relax or hide.
- Cardboard box or cardboard cat house: Incorporate these into the condo design for cats who enjoy the simple pleasures of a box.
Lastly, consider incorporating a scratching post made from sisal rope or similar material. This will help prevent your cat from using the carpeted surfaces for scratching.
Ensuring Safety
When building a DIY cat condo, prioritize the safety and stability of the structure. To begin, secure the base properly using brackets or a heavy-duty glue for stability. Balance and support the weight of the different levels by ensuring they are properly fastened to the frame. Regularly inspect the condo for any wear and tear, making sure to address any concerns before they become hazards.
Choose pet-safe materials and paint for the cat condo to prevent any adverse reactions or potential harm. Keep the cat condo in a stable location in your living room or any designated space, away from any areas where it could potentially be knocked over.
By incorporating comfortable carpeting and padding, engaging toys and accessories, and prioritizing safety, your DIY cat condo will become a cherished part of your feline’s domain. Happy building!
